

All of the specifics to give a corner banquette a new glimpse with paint, in addition how to install an air vent redirect less than a cupboard.
At last!
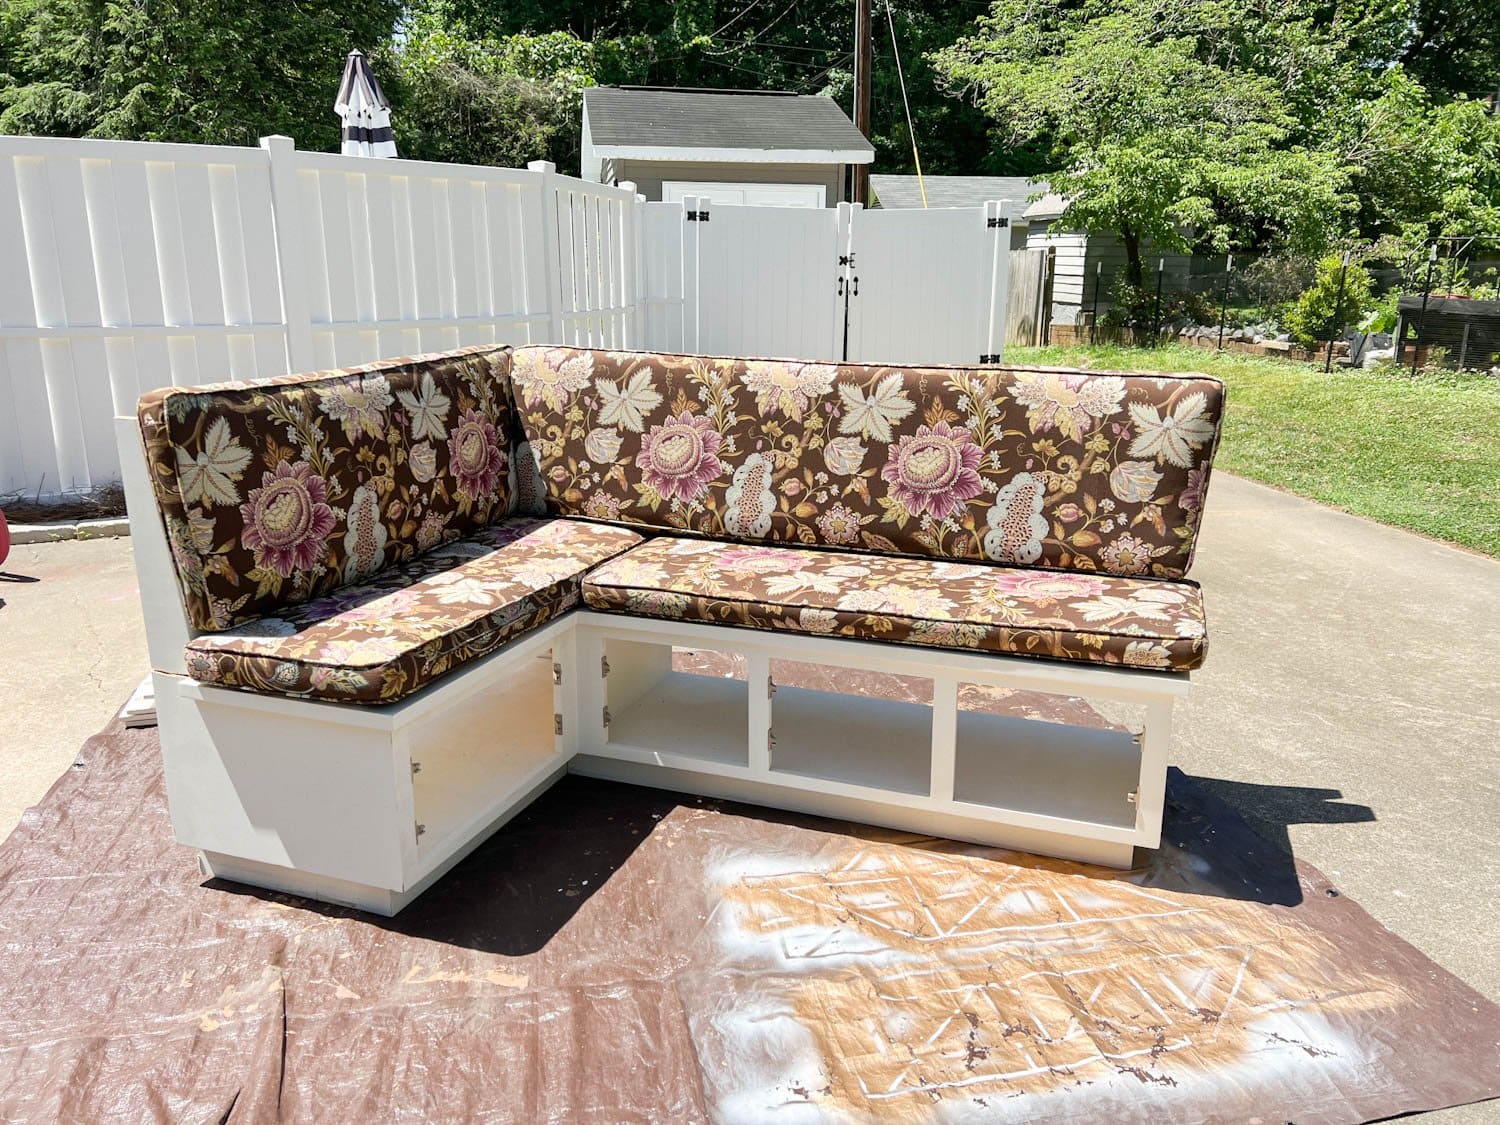
Following months of looking for a secondhand corner banquette on Facebook Market, driving just about 4 several hours spherical-vacation to select it up, relocating a door, installing LVP flooring, redirecting an air vent, and painting for days, we have the slight makings of breakfast nook!

I managed to shoot the banquette’s new digs proper after the electrician still left from setting up those people sconce containers and relocating for the linear chandelier, so forgive the dust. 😉
I’m nonetheless ready on reupholstered cushions, but even “naked” this banquette by now has us envisioning so a lot of pleasurable family members dinners gathered all around the table with quite a few more beloved kinds squeezed into this little room!
How to Redirect Air Vents Below Cabinets
A person small impediment we experienced to tackle prior to generating the shabby corner banquette look stylish was rerouting the air vent on the floor that was positioned correct beneath the below seat the cupboards.
(There often has to be at minimum one particular obstacle or it wouldn’t be a dwelling advancement venture, would it? Murphy’s Law each and every time.)
If you are at any time creating developed-in shelves, cabinets, a window seat, or a corner banquette like ours, you absolutely can’t cover and overlook any vents the air move ought to be redirected to preserve the space effectively heating and cooling.


How to Install an Air Vent Redirect
We used this air vent redirecting package named a Toe Ductor (it operates for wall registers and baseboard registers also).
The package makes it possible for you to drive the air circulation beneath your designed-in home furnishings. (Not sponsored… just a awesome factor we have uncovered and utilised for DIYs more than the yrs.) Make sure you allow at the very least 4 inches of place beneath your cupboard or developed-in.
We did the exact beneath the crafted-in cabinets and window seat for our neighbors’ rec home makeover previous calendar year. In hindsight, I would paint that vent grate to blend it.

Materials
- Toe Ductor Package (wall vent kit below or baseboard vent package here)
- Drill
- 1/2″ wood screws
- Oscillating tool
- Duct tape

Action 1 – Connect Box to Ground Vent
Protect the ground vent first with the Toe Ductor box and screw into spot.

Move 2 – Evaluate and Slash for the Toe Kick Include
Make your mind up exactly where you want to location the new air vent on your built-in, measure, and mark. Using the oscillating resource, minimize out a rectangular section.


Stage 3 – Attach the New Vent
On the backside of the rectangular hole you just cut, attach the new vent with screws to the toe kick.

Stage 4 – Attach Versatile Duct
Use the presented steel strip to attach the adaptable duct to the back of the vent. (Our steel strip set up a bit of a struggle, so we reinforced it with duct tape.)

Step 5 – Connect Flex Duct to Box and Posture Cabinet/Built-In on Leading
Stretch out the versatile duct underneath the corner banquette crafted-in, and connect it to the box on the flooring with the kit’s metallic stripping. We strengthened ours once more with duct tape so no air escapes.
Spot the cupboard or crafted=in on major of the box and anchor to the wall as you’d like. You can attach the toe kick grate to the front after portray.
Step 6 – Prep and Paint
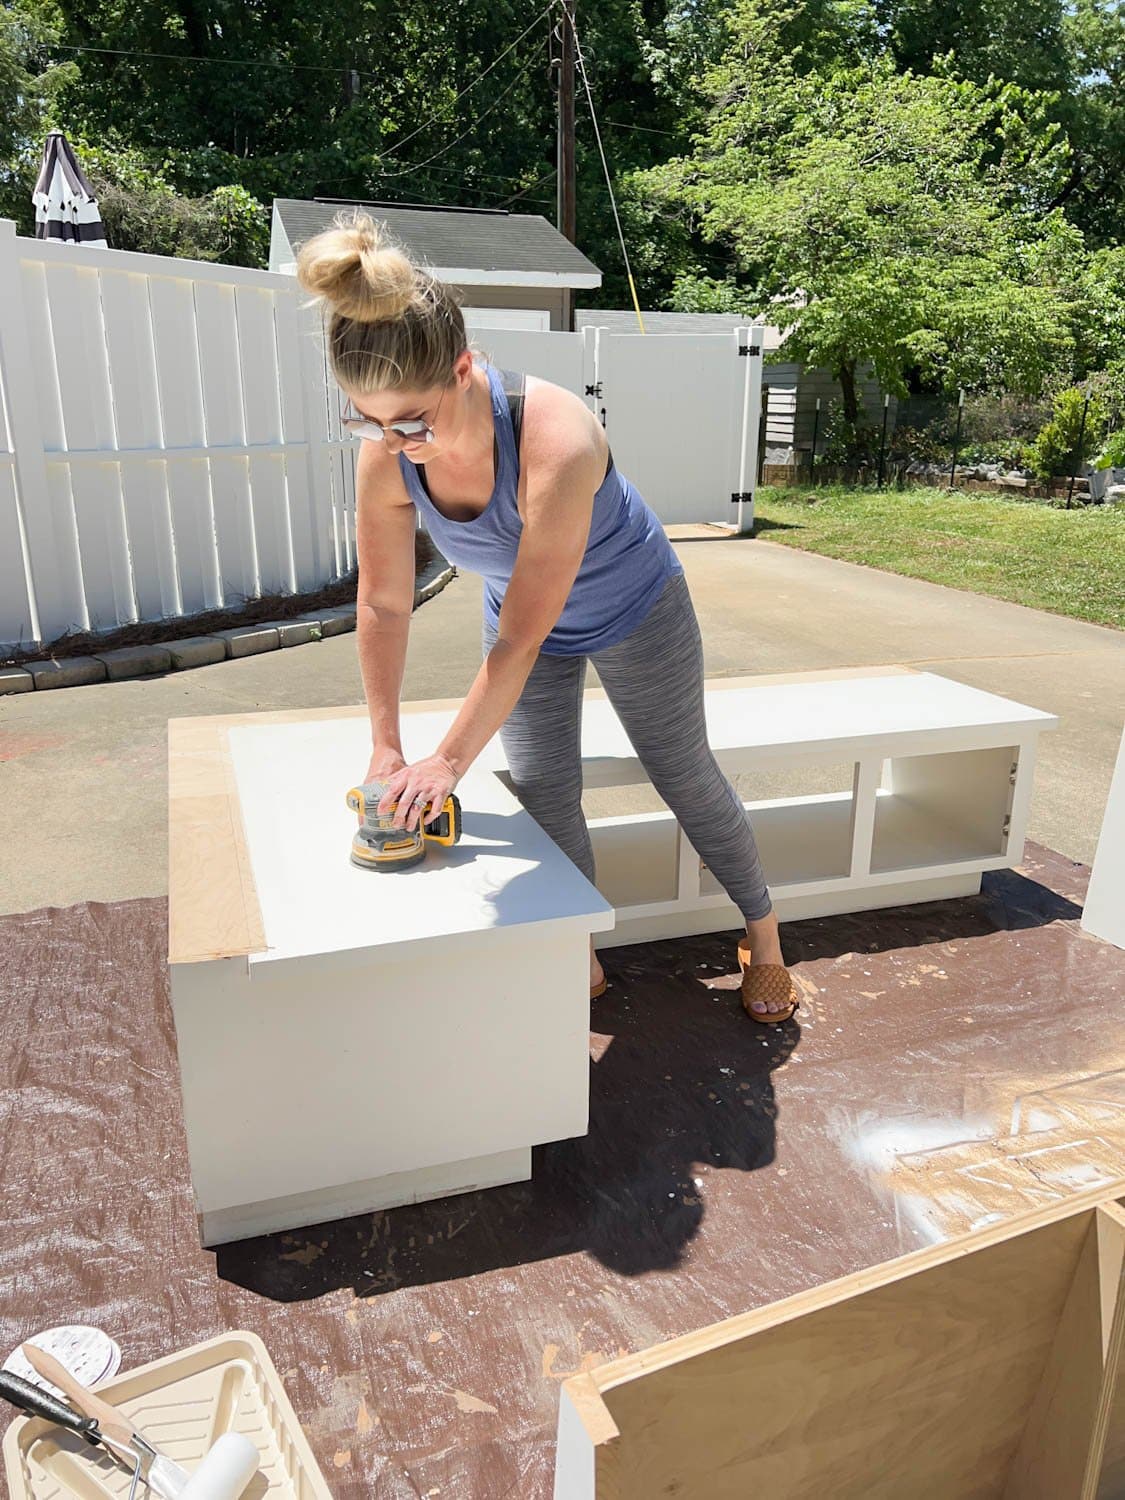
I went as a result of my normal cabinet portray course of action due to the fact this corner banquette is really substantially like a piece of cabinetry.
- Sand with an orbital sander applying medium/high-quality grit
- Vacuum and tack fabric away dust
- Implement liquid sander deglosser
- Key with shellac primarily based primer
- Paint with enamel satin

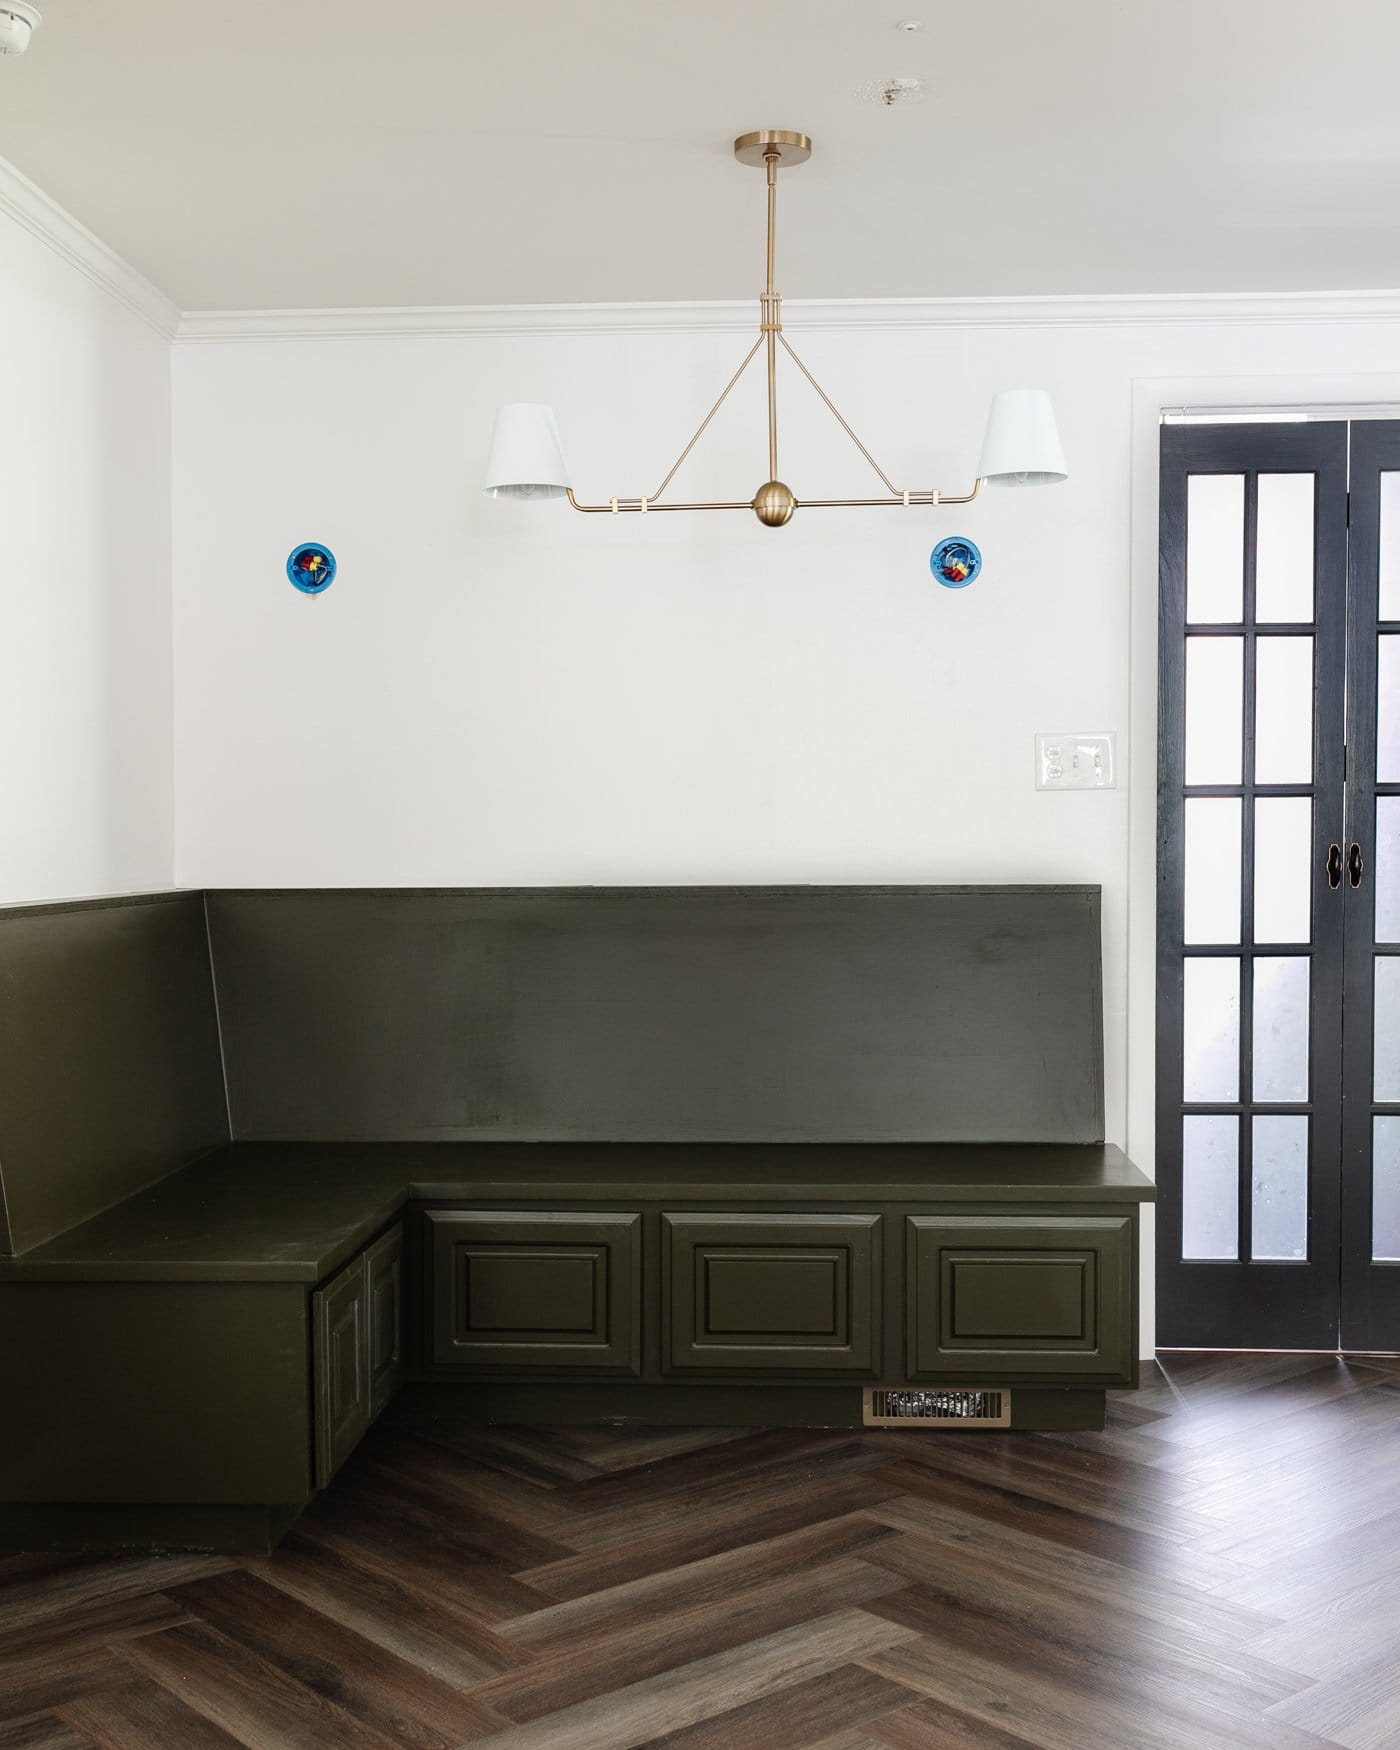
Examine out that deep, desaturated olive inexperienced! It blends completely with our a lot more vivid hunter eco-friendly kitchen area cupboards when even now experience like a neutral. Appreciate! The coloration is Benjamin Moore Southern Vines.
We anchored the new-to-us corner banquette to the wall though we were at it so the young children can get rough and rowdy on this bench all they want.


The Painted Corner Banquette
I can’t wait to see some fairly striped cushions on this bench shortly, but it seems so very good now!
This linear chandelier is perfect for the narrow rectangular eating table that will go below quickly. Since this house is windowless, and this corner feels so dark, we extra sconce bins to give it some added assistance.

I program to go again and paint the vent deal with the identical Benjamin Moore Southern Vines to blend with the rest of the corner banquette so it will nearly vanish.
Are you commencing to see the eyesight consider condition in this small eating nook? Are we feelin’ the bench seating circumstance? We have an inexpensive wall remedy prepared up coming to add some added dimension that I can’t wait around to demonstrate you!
Much more Furnishings Tips
